A simple sandbox survival game that plays in mostly lush biomes in a mostly peaceful world, featuring only simple technologies.
Repixture is a sandbox survival game focusing on nature, survival and primitive technologies. The world is random and features mostly a temperate climate.
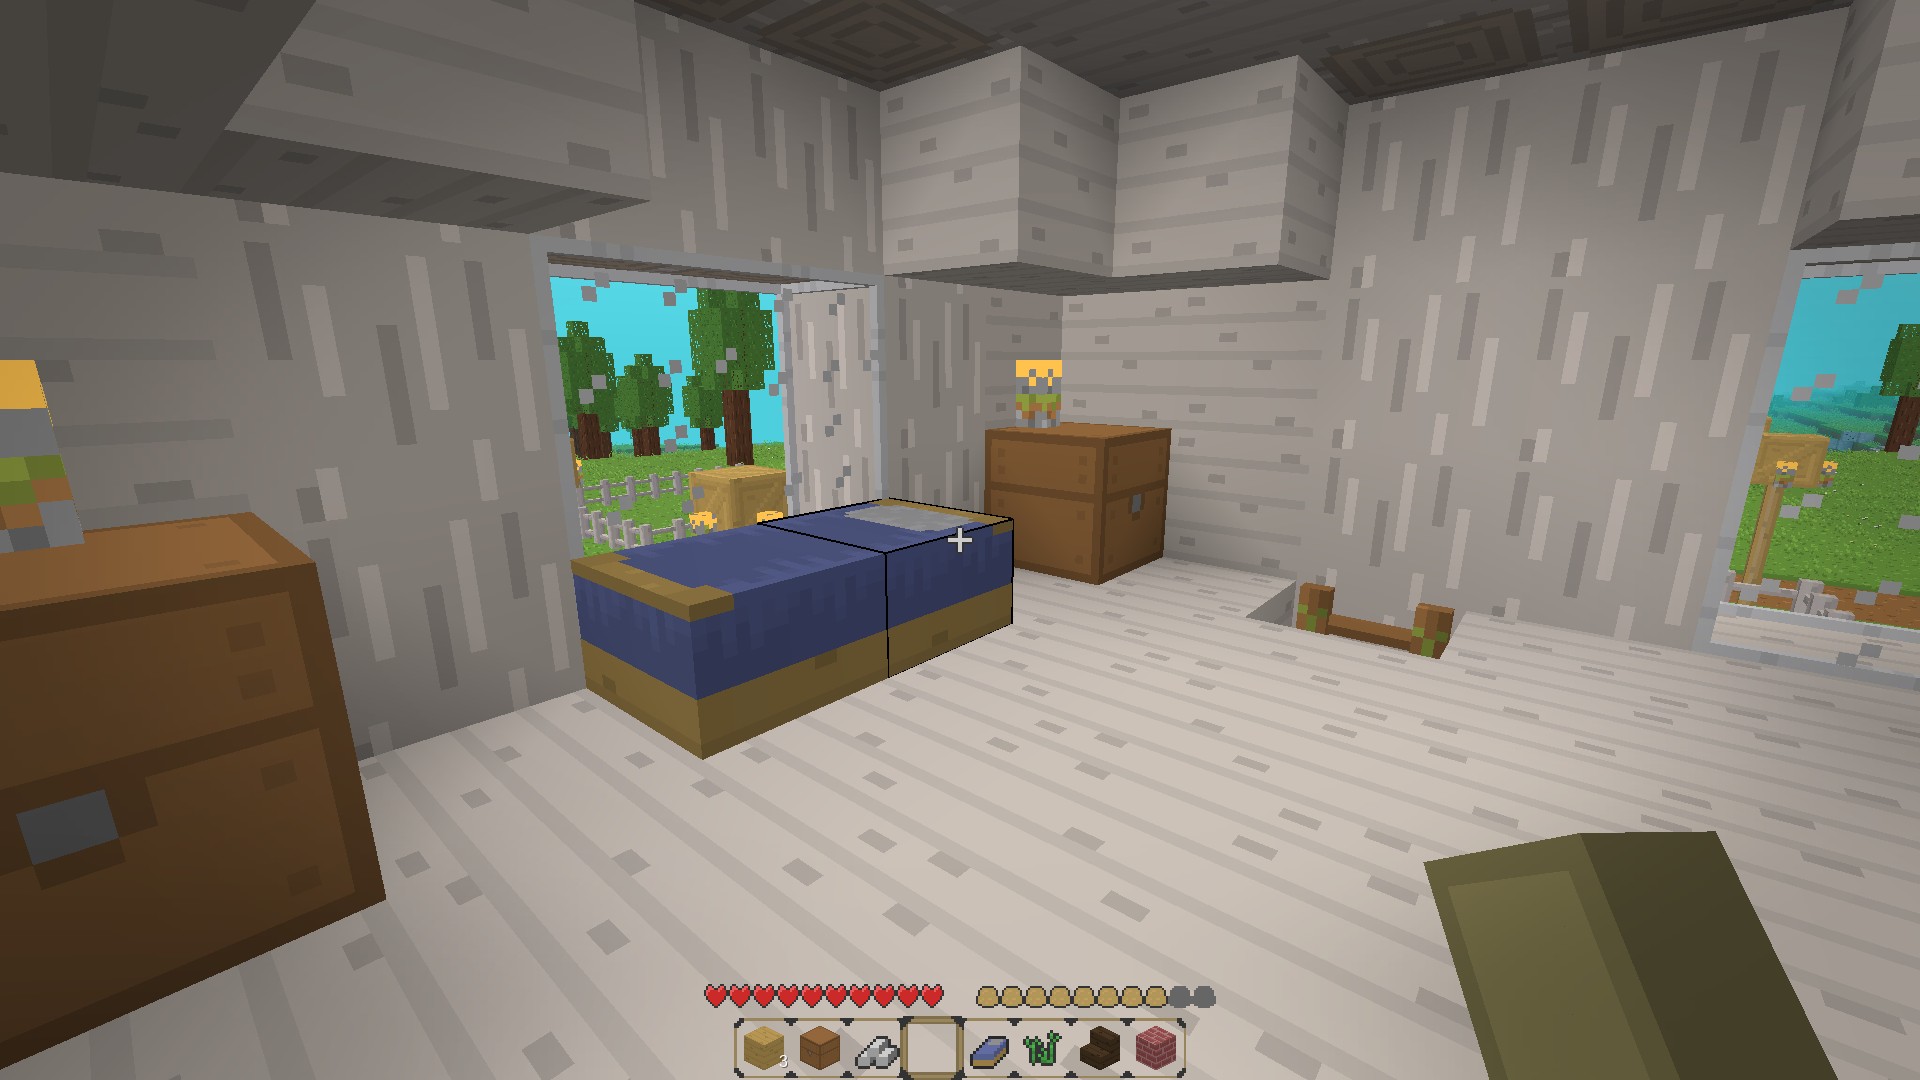
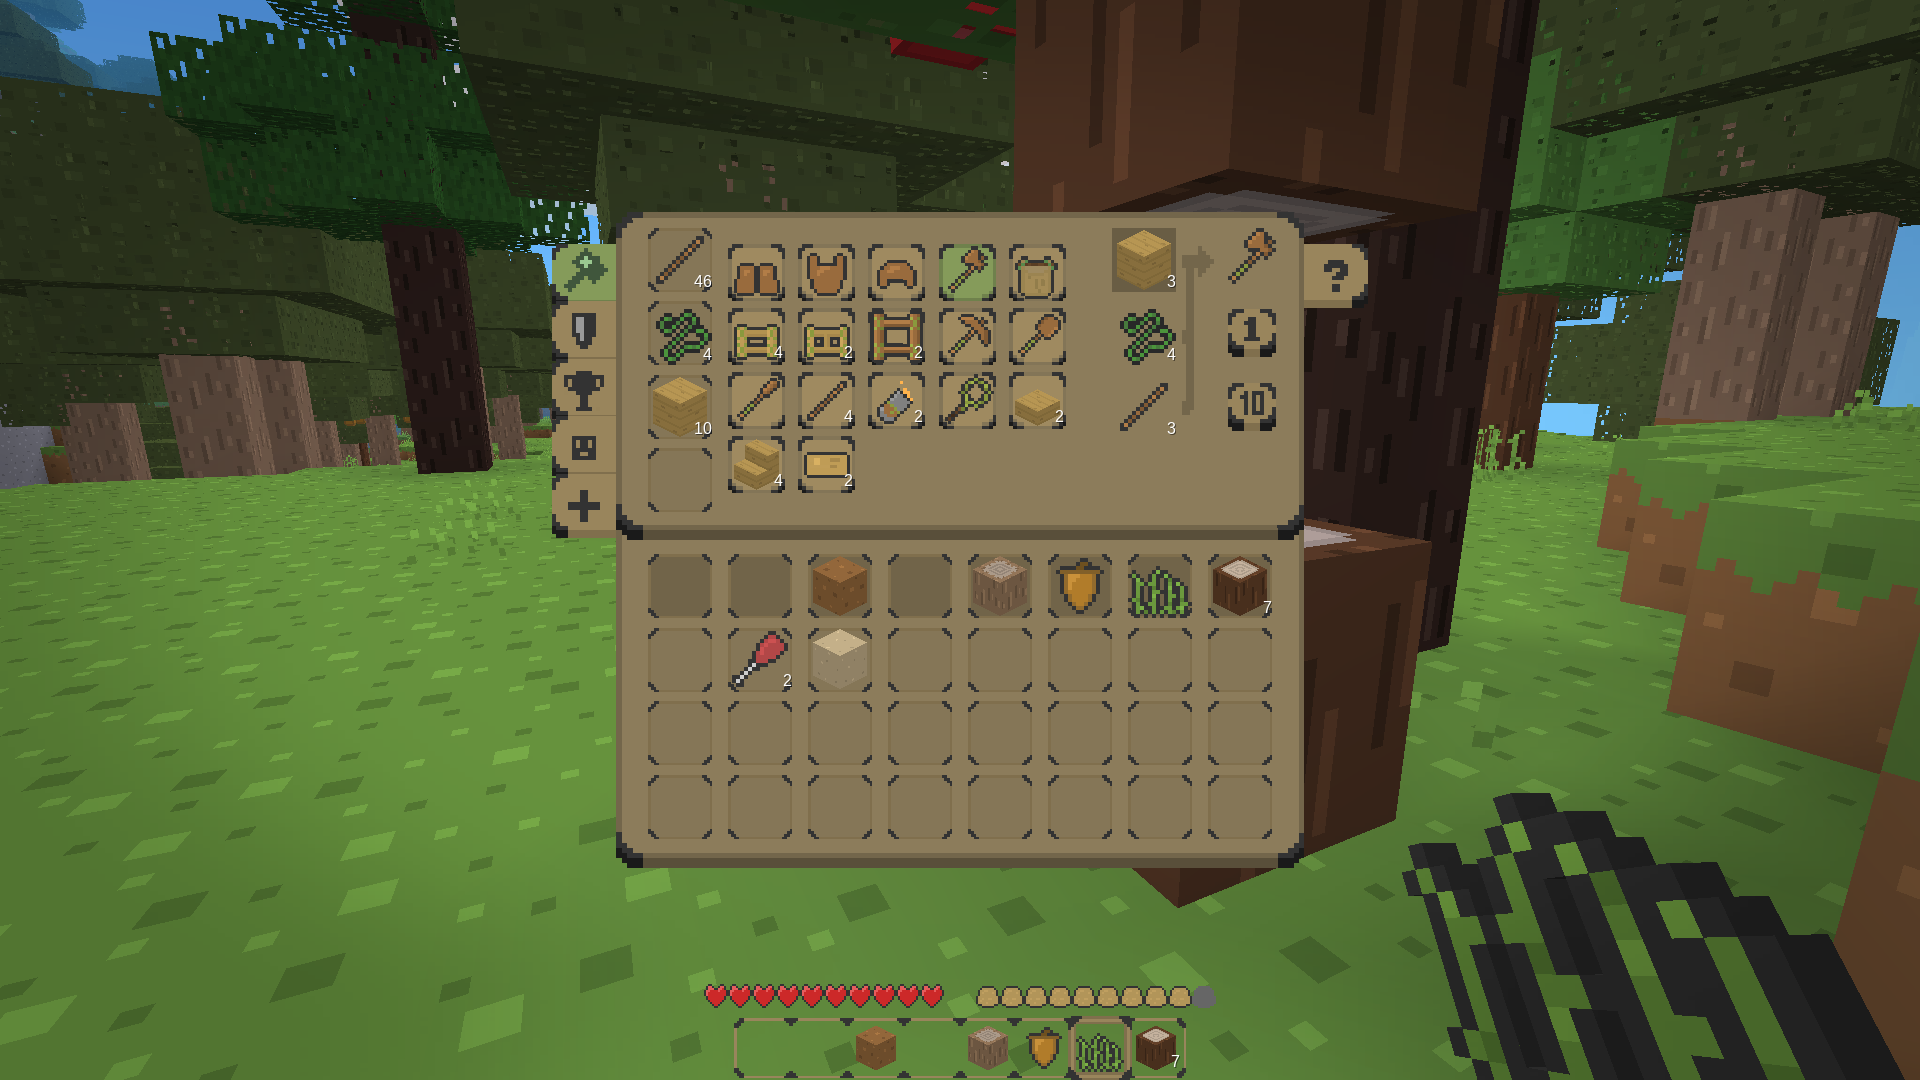
Explore the world and gather resources to survive. Craft tools and things to build with, build shelter and later the buildings of your dreams.
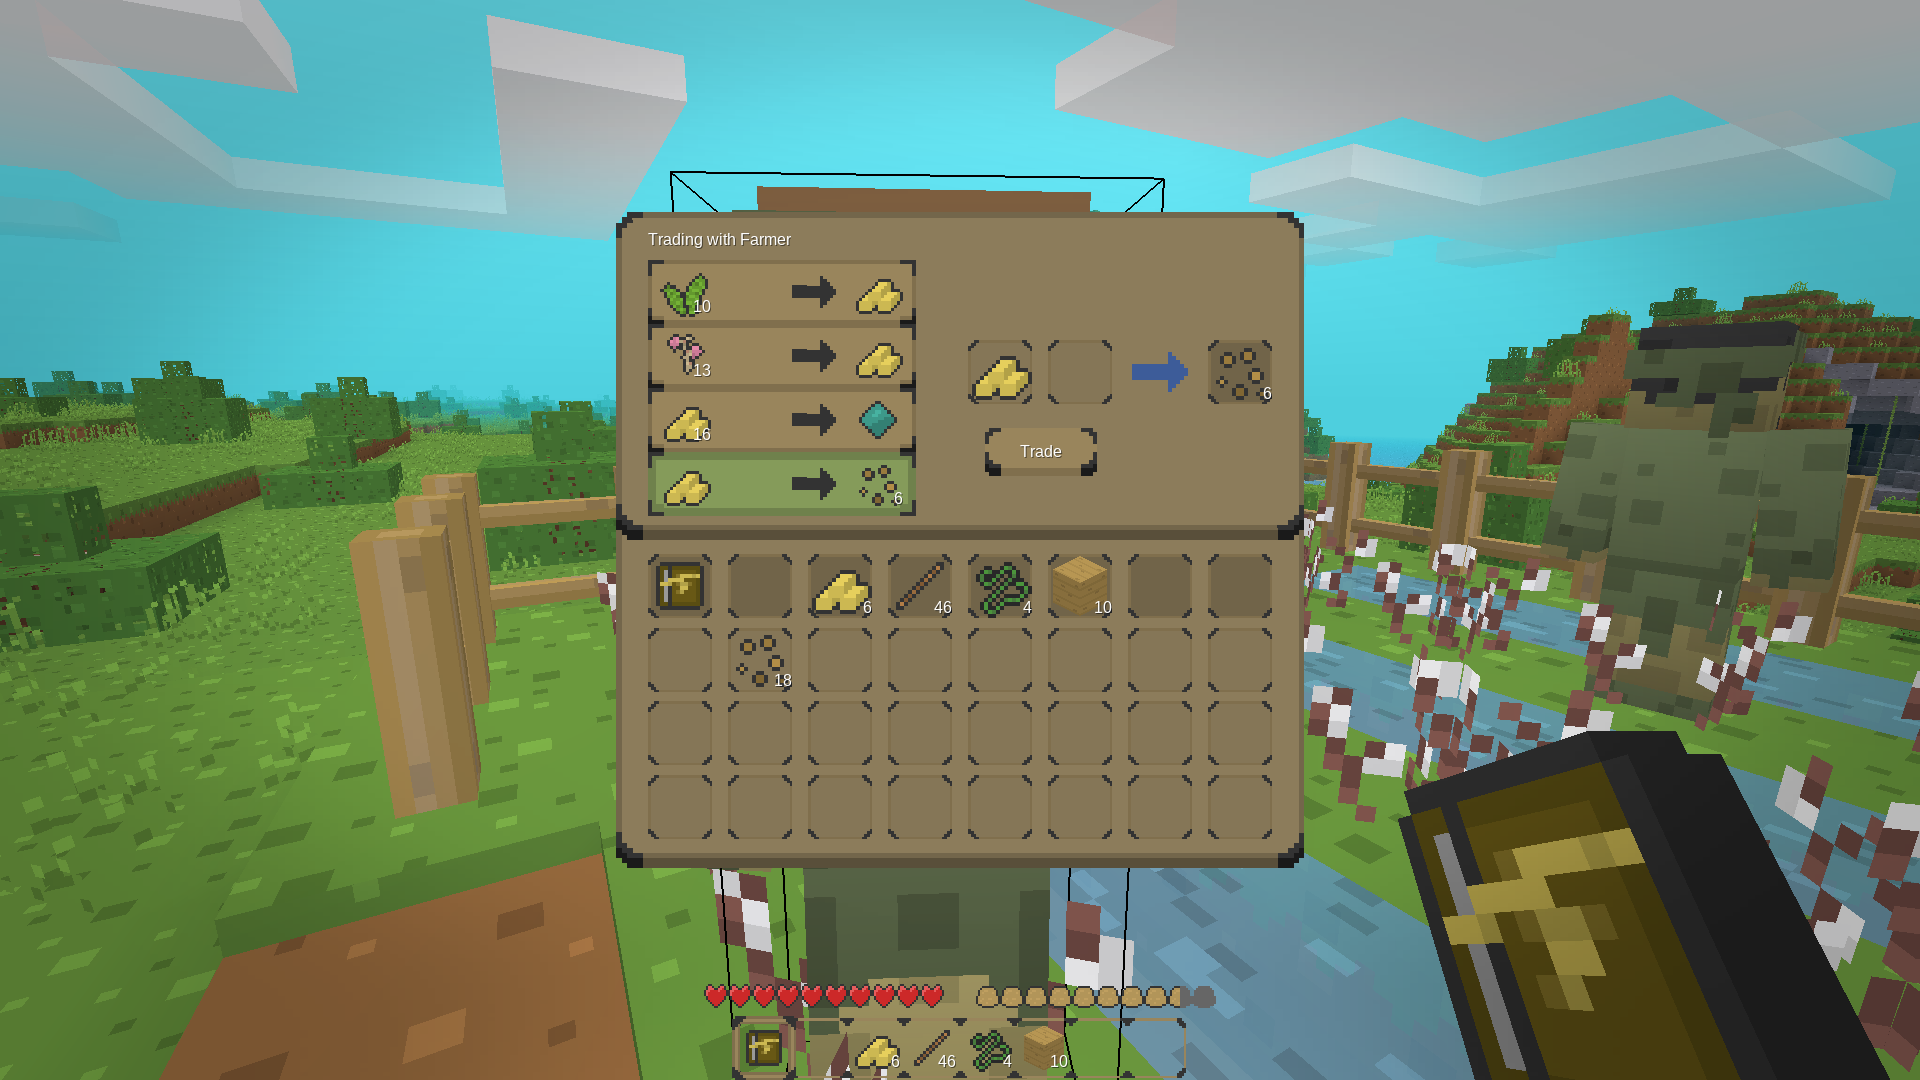
There is no goal; everything is up to you: Go mining for the mysterious lumien, forge the mightiest sword, trade with villagers, become a farmer, upgrade your tools with jewels, hunt for achievements, or do whatever you like.
Gameplay
This game is meant for newcomers to this genre, or people who just want to build in peace. It’s a slow, cozy game.
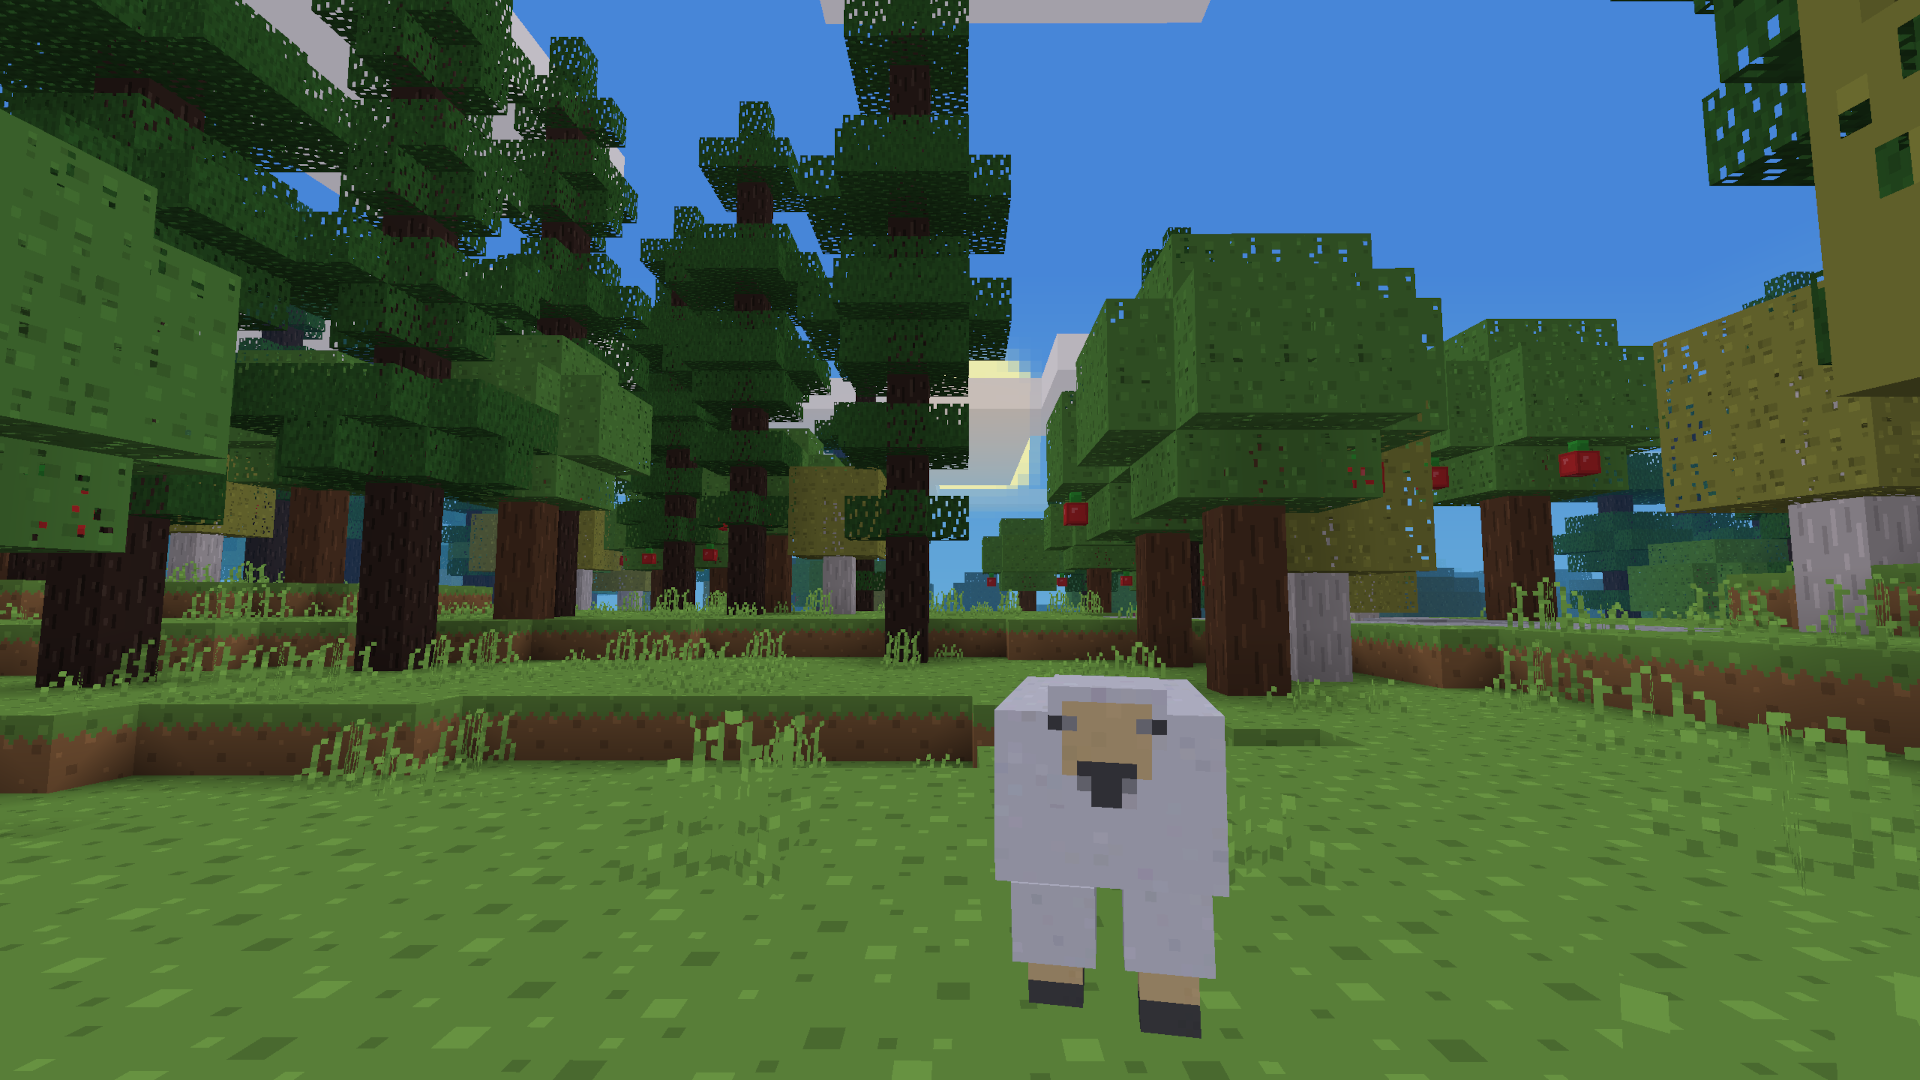
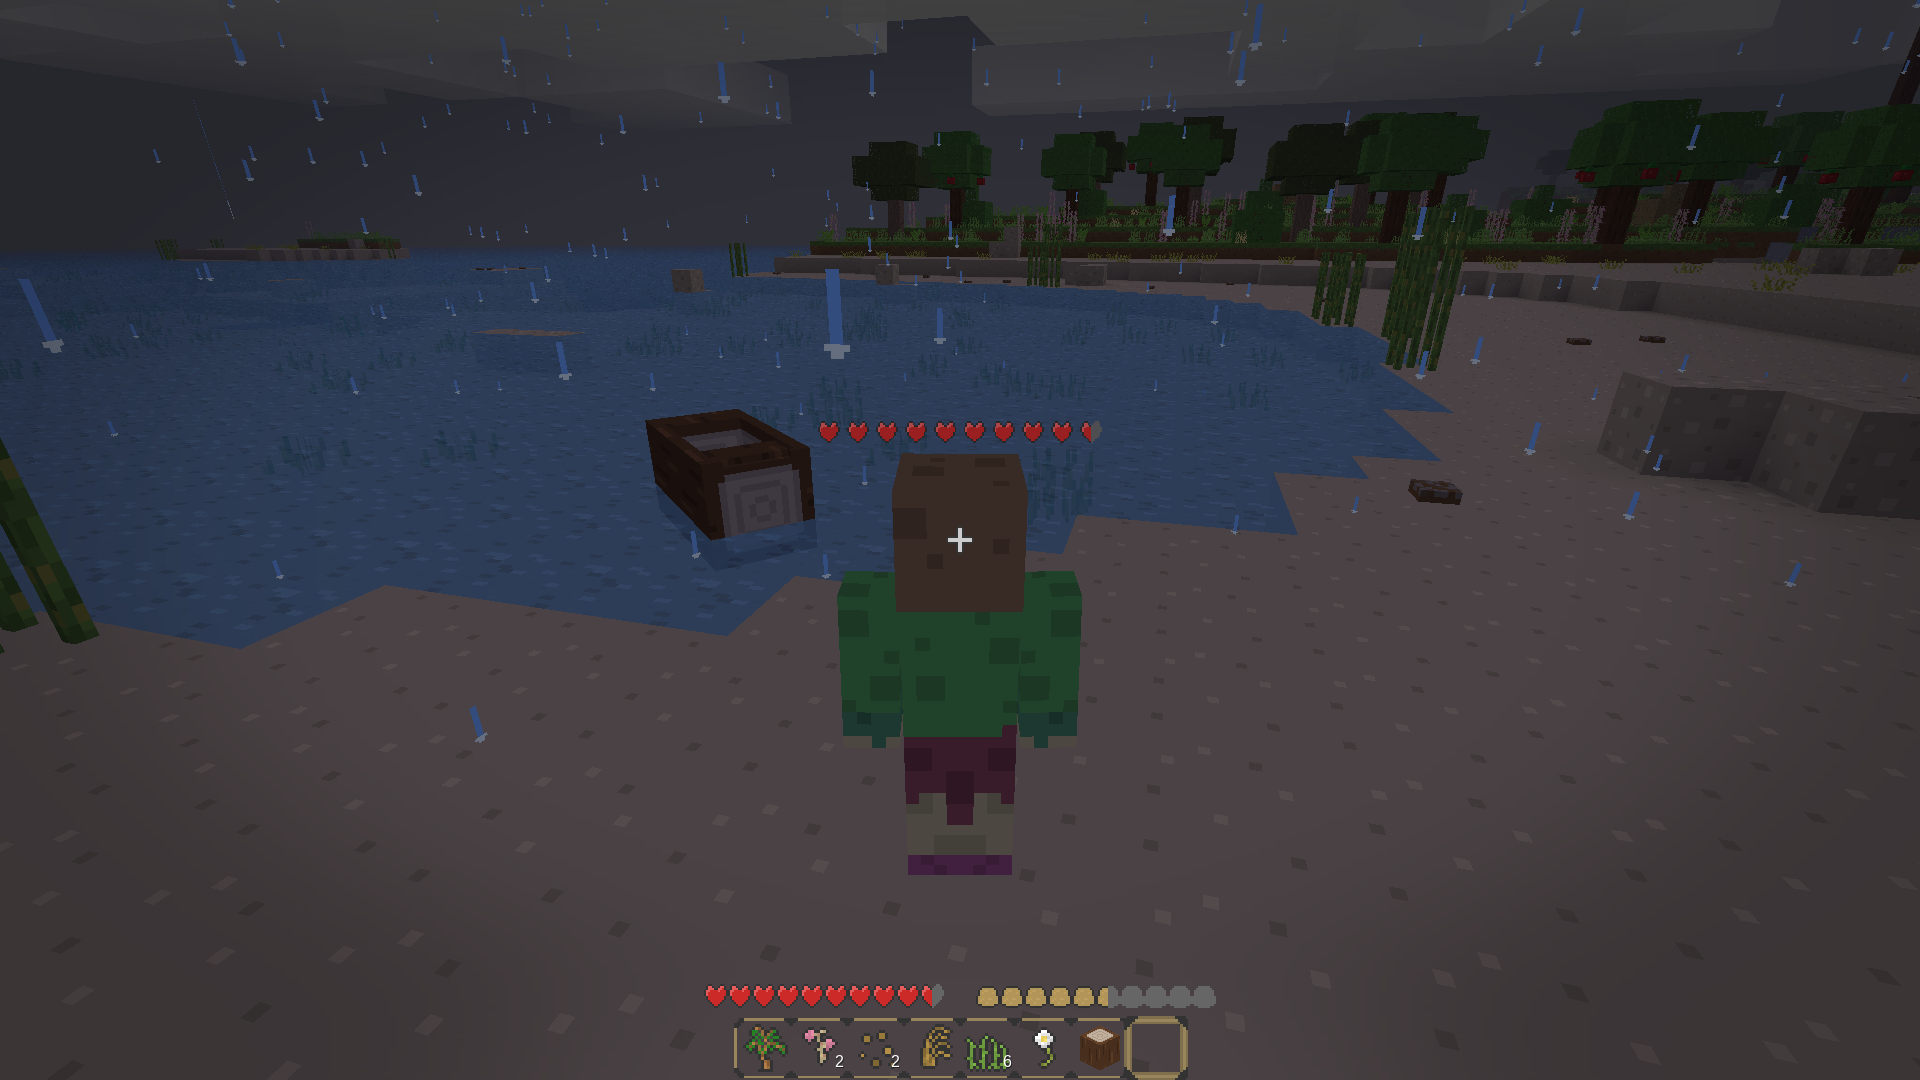
The first goal is to survive. You will get hungry, but thankfully, this world is full of food. Trees bear apples or nuts, animals give you meat, at beaches you can find clams. If you’re lucky, you find wild wheat, potatoes and other valuable plants you can replant and farm.
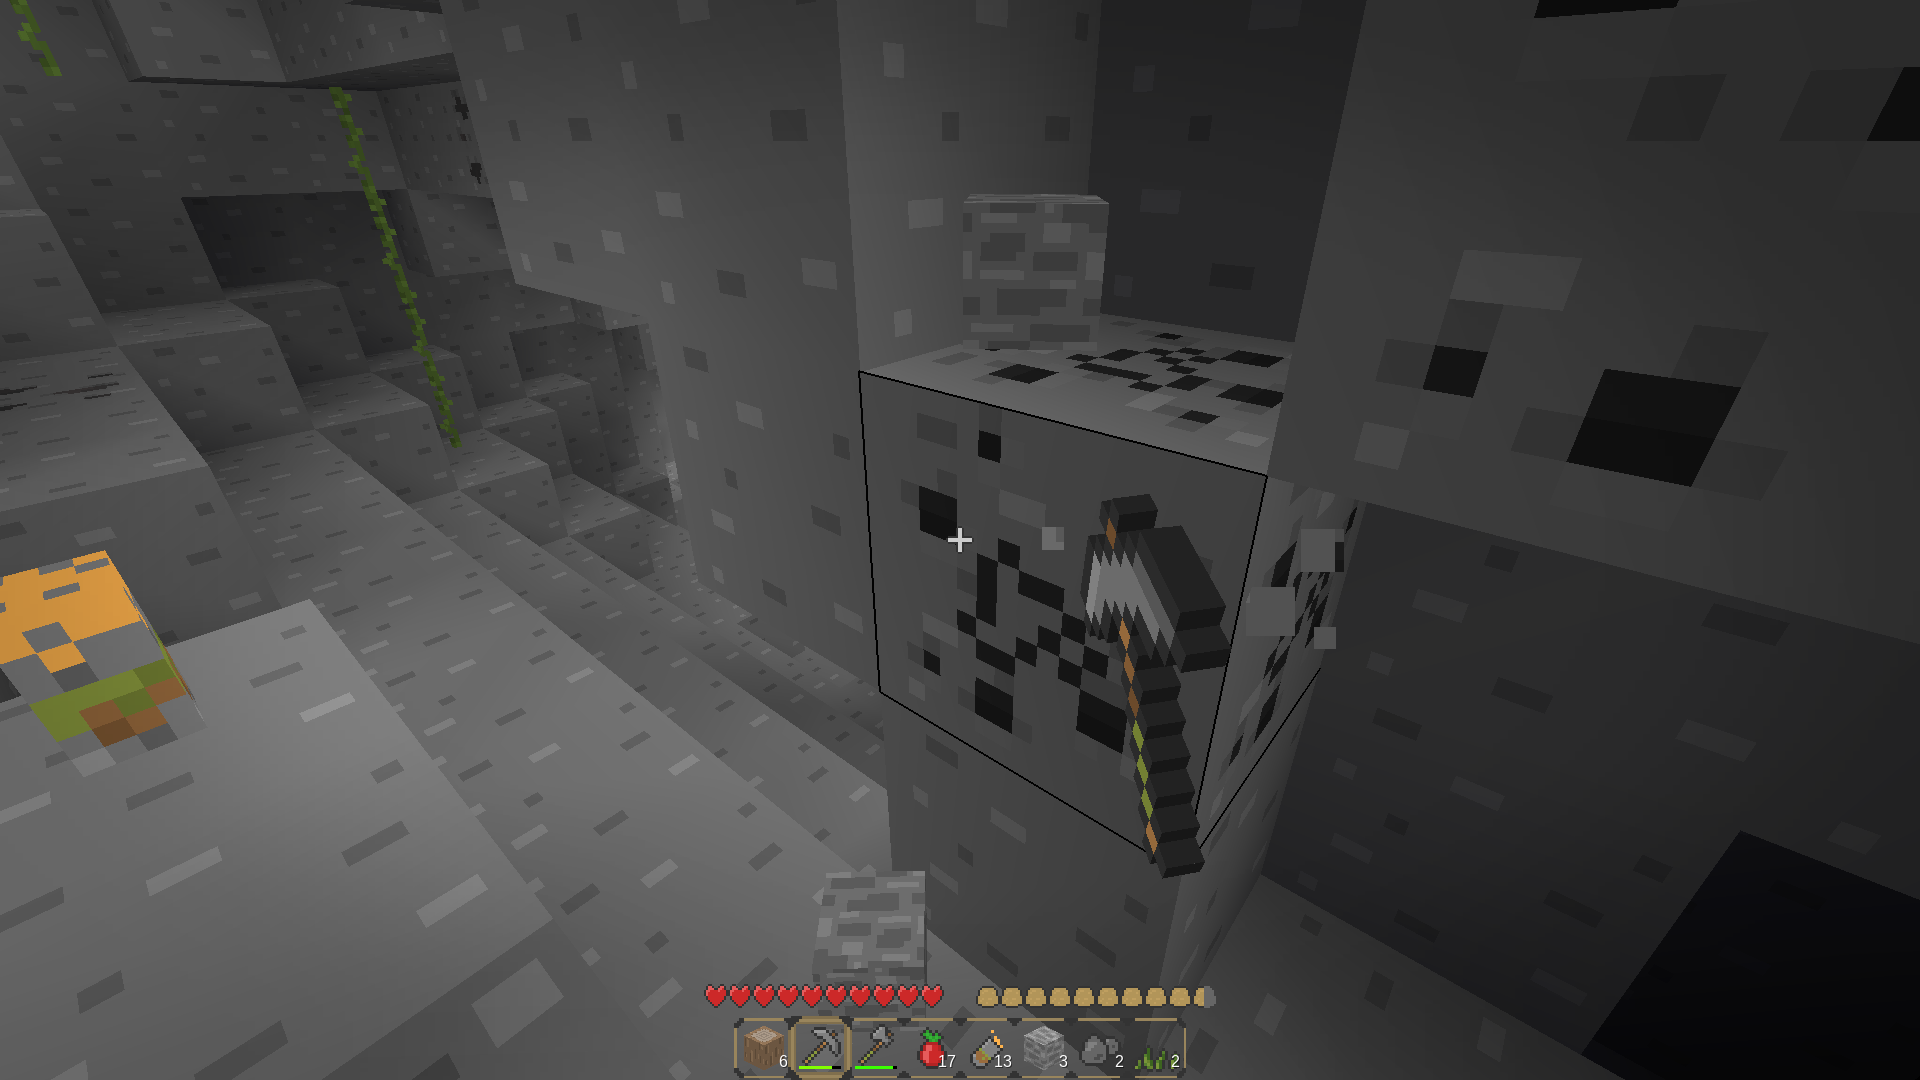
Every block in this game is breakable with the right tool, starting with your hand. Tree trunks can be broken by hand, but axes are faster. Pickaxes break stone, better pickaxes mine more valuable ores. Use your new blocks for crafting or build a nice cozy home with them. The choice is yours! The technology tree is rather low tech so the progress is rather slow-paced.
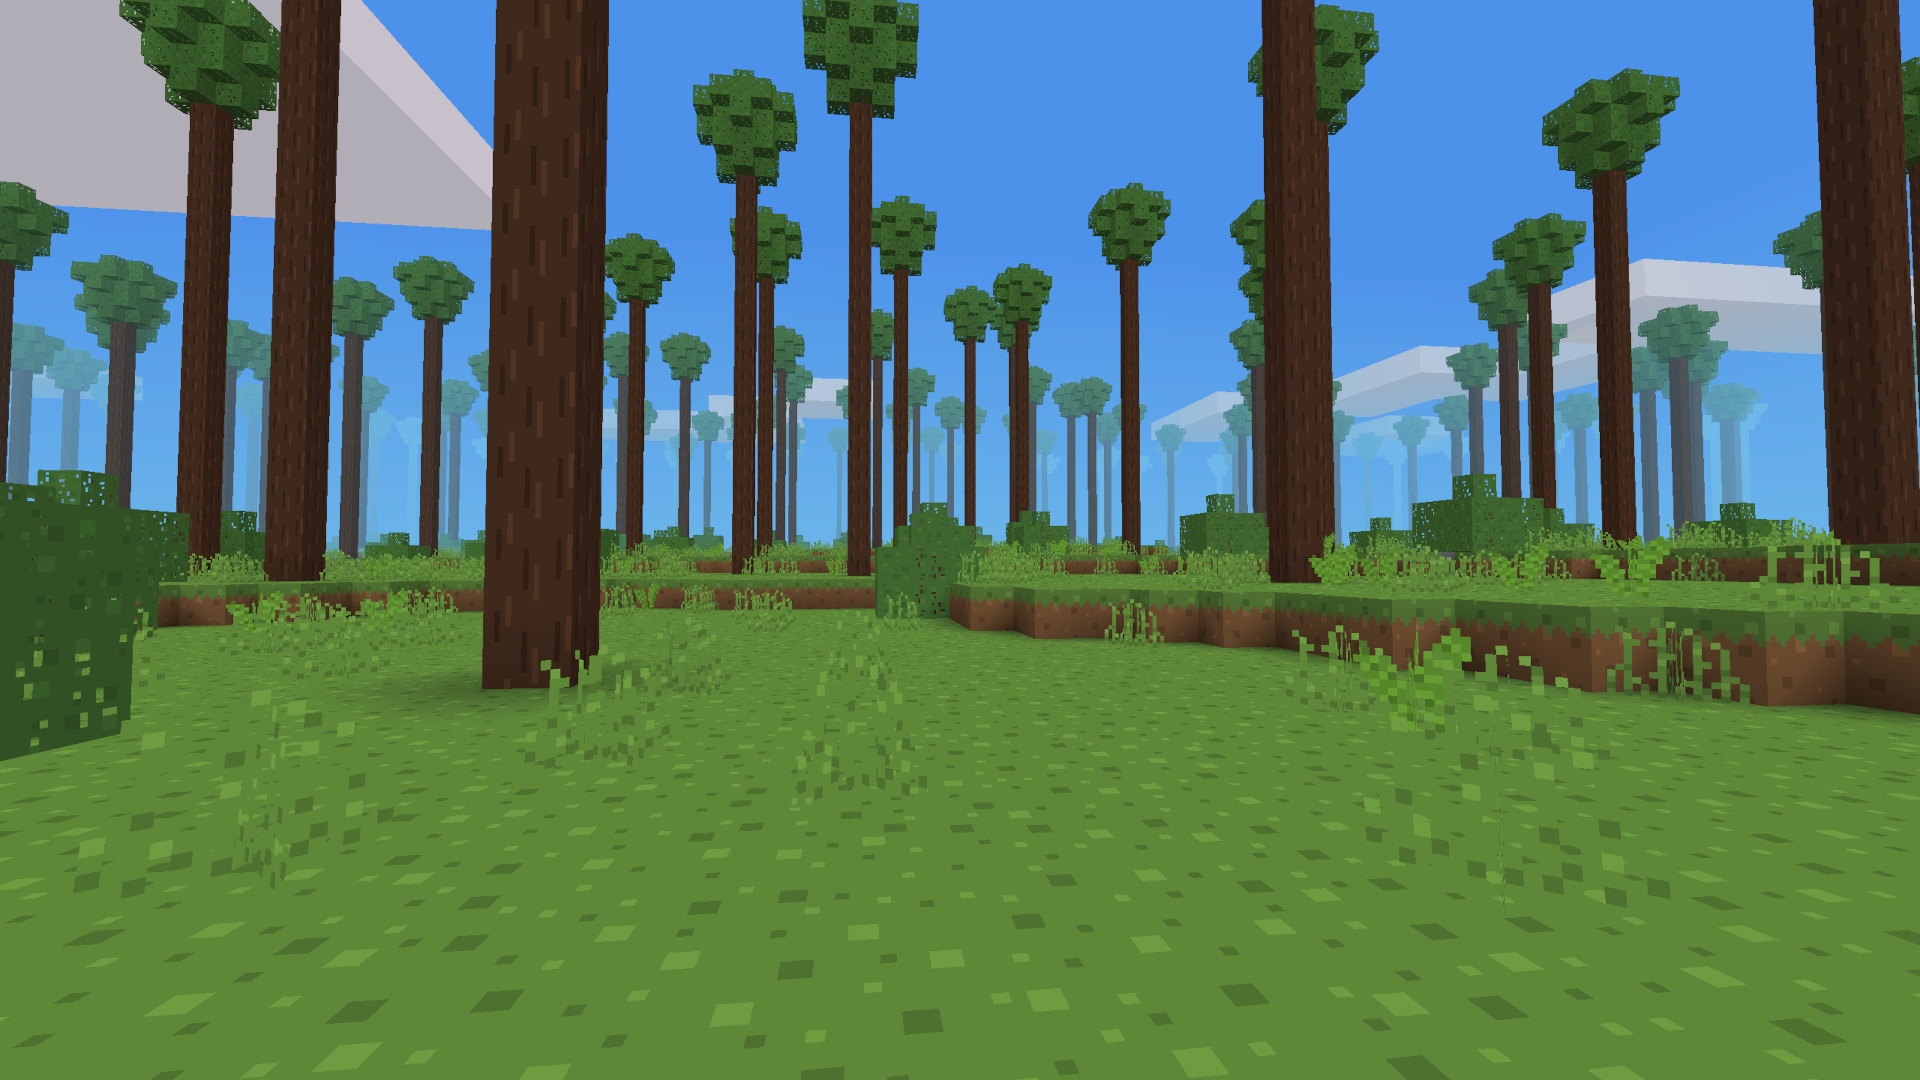
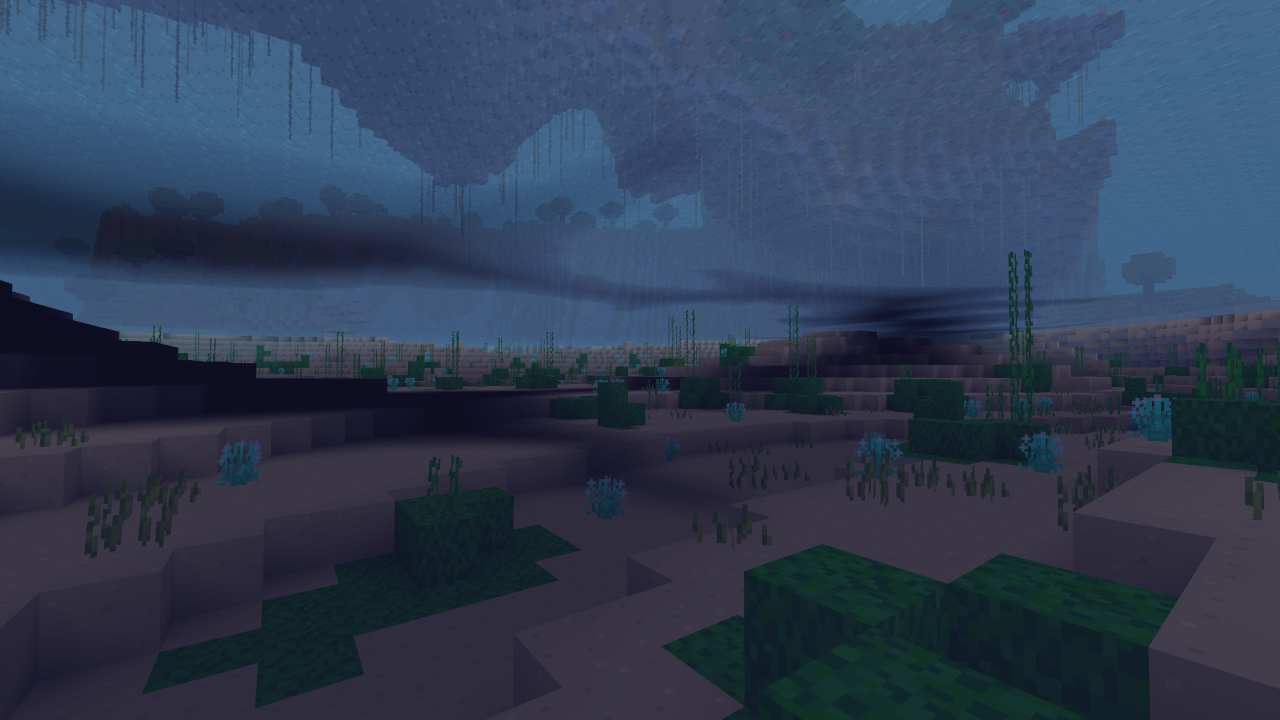
Or maybe you want to explore the world, discover biomes and villages with traders. Many biomes come with unique items.
Features
This game is fully translated in German and Spanish and partially translated (>50%) in French and Russian.
Download and Installation
This game requires Luanti version 5.13.0 or later. Download Luanti from www.luanti.org.
Recommended installation: In Luanti, download and install this game with the “Content” tab (see the Luanti documentation for details).
Alternatively, you can manually download this game from Codeberg.
Play
To start the game, open Luanti, select the game Repixture, create a world and start it.
Check out the official Player Manual to learn more.
Links
- ContentDB page (Luanti community page with reviews)
- README file
- Forum discussion thread
- Bug tracker
- Source code repository
- Contribute translations
Free Software
This game is free software, released under the following licenses:
- Source code: GNU Affero General Public License version 3 (or any later version)
- Storm sound in the
rp_weathermod: GNU General General Public License version 2 - GNU Unifont in the
rp_fontsmod: GNU General Public License version 2 (or any later version), or SIL Open Font License 1.1 - All other media files: Creative Commons Attribution-ShareAlike 4.0 International
See the README file for details.
This website is also free software and its source code is distributed with Repixture; the same license terms apply.
Credits
Repixture was started by Wuzzy. It’s a fork of Pixture. Repixture is a revival of Pixture 0.1.1, a game for Luanti 0.4. Pixture is Copyright © 2015-2017 Kaadmy.
Most textures/models by Kaadmy, with some additions/changes by Wuzzy and Jean-Patrick Guerrero (alias jp).
Original music created by vozh-kc.
Translation and sound effects were created by a large number of people.
The Luanti logo was made by erle (released under Creative Commons Attribution-ShareAlike 3.0 Unported).
Read the README file for details.